Introduction
Candles have transcended their conventional purpose of mere illumination; they’ve become a symbol of relaxation, ambience, and a way to enhance the atmosphere within our living spaces. The allure of candles has prompted a burgeoning interest in crafting these delightful creations right in the comfort of our homes. The art of candle making has experienced a renaissance, enticing individuals seeking a blend of creativity and mindfulness.
Amidst this surge in homemade candle crafting, soy wax has emerged as a preferred choice among artisans and enthusiasts. Soy wax stands out as a sustainable alternative to traditional paraffin-based candles. It is renowned for its eco-friendly attributes and clean-burning nature. Created from soybean oil, this natural wax burns longer and cleaner, emitting minimal soot and pollutants into the air. Its biodegradable properties align with an environmentally conscious mindset, making it an excellent choice for eco-friendly options without compromising quality or fragrance.
The appeal of soy wax extends beyond its environmental advantages. Candle connoisseurs appreciate its ability to hold fragrance and essential oils exceptionally well, resulting in candles that burn cleanly and disperse captivating scents throughout any room. Whether you’re a seasoned candle-making artisan or a novice looking to embark on a creative journey, understanding the art of crafting candles using soy wax promises an experience that blends sustainability, artistry, and sensory indulgence.
Materials Needed
Creating homemade soy wax candles requires essential materials and tools to achieve optimal results. Here’s a detailed rundown of what you’ll need:
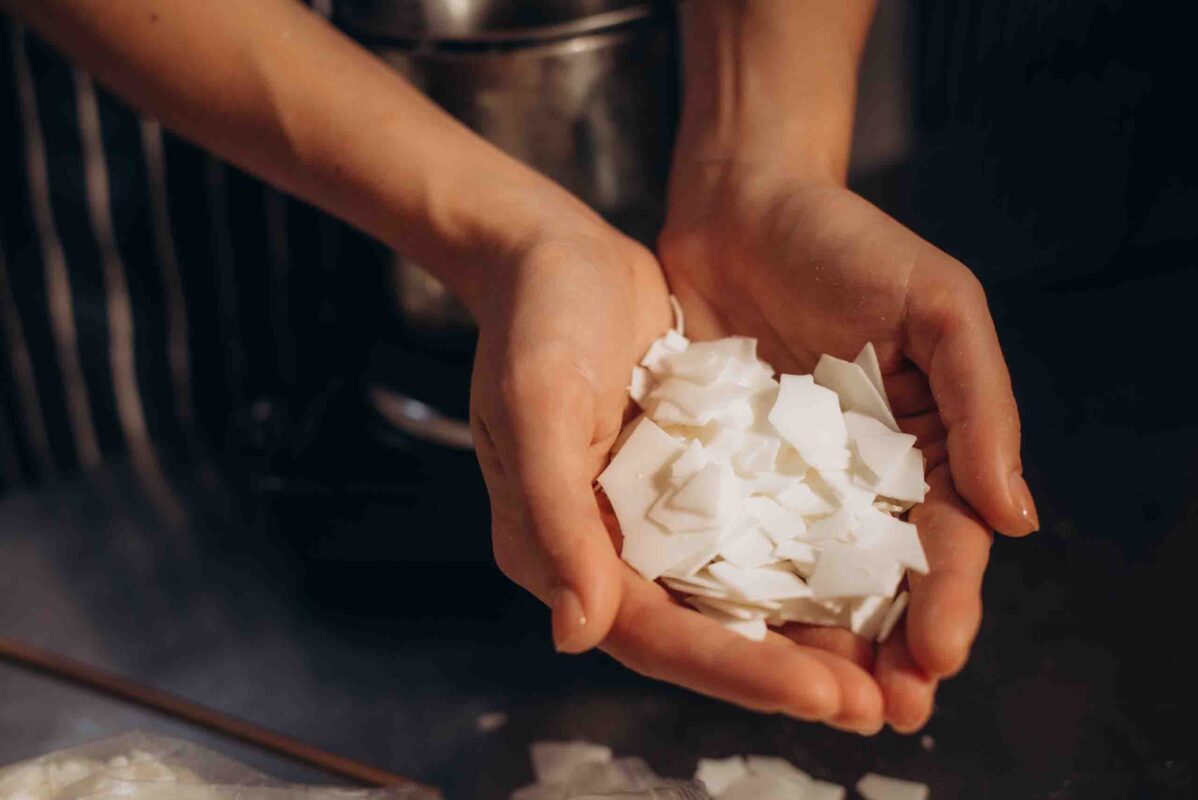
1) Soy Wax Flakes: The foundational ingredient in soy wax candles, these flakes are derived from soybean oil and serve as the base material for your candles. Soy wax is a superb all-around wax celebrated for its eco-friendly nature, clean burn, and ability to hold fragrances effectively.
2) Candle Wicks: These are the conduits that facilitate the combustion of the wax. Selecting the correct wick size for your candle container ensures an even burn. Wicks come in various materials like cotton, wood, or hemp, each offering distinct burning characteristics.
3) Fragrance Oils or Essential Oils: Adding fragrance to your candles is where creativity meets sensory pleasure. Fragrance oils or essential oils infuse your candles with delightful scents. Fragrance oils offer a wide array of scents, while essential oils provide natural aromas with potential therapeutic benefits.
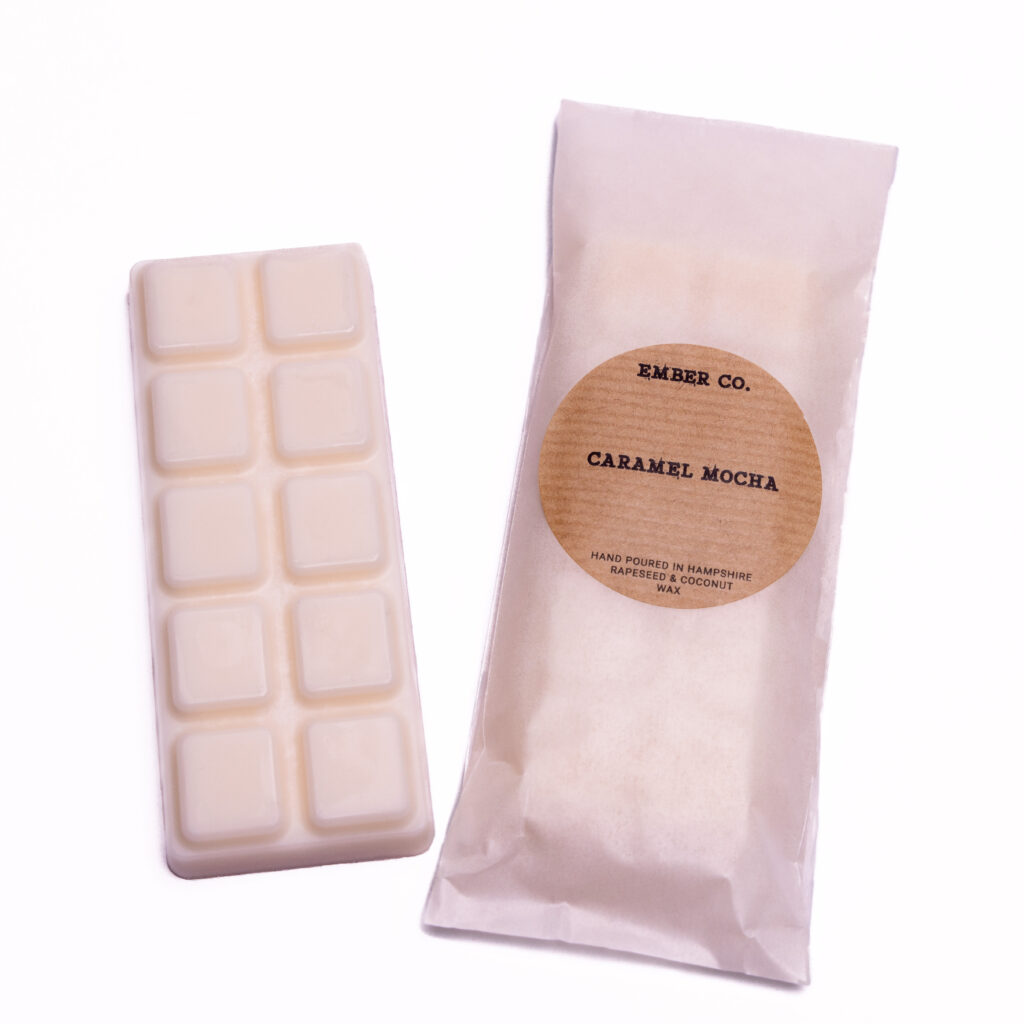
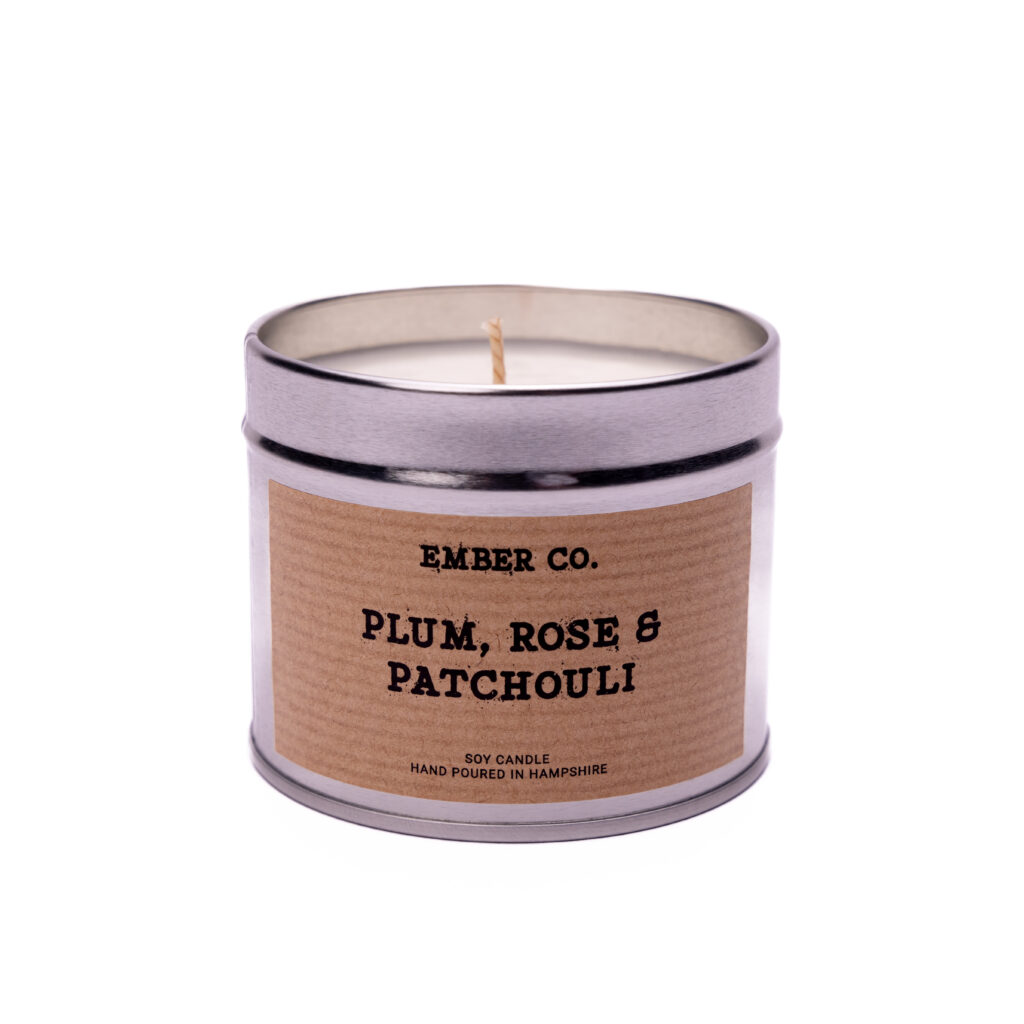
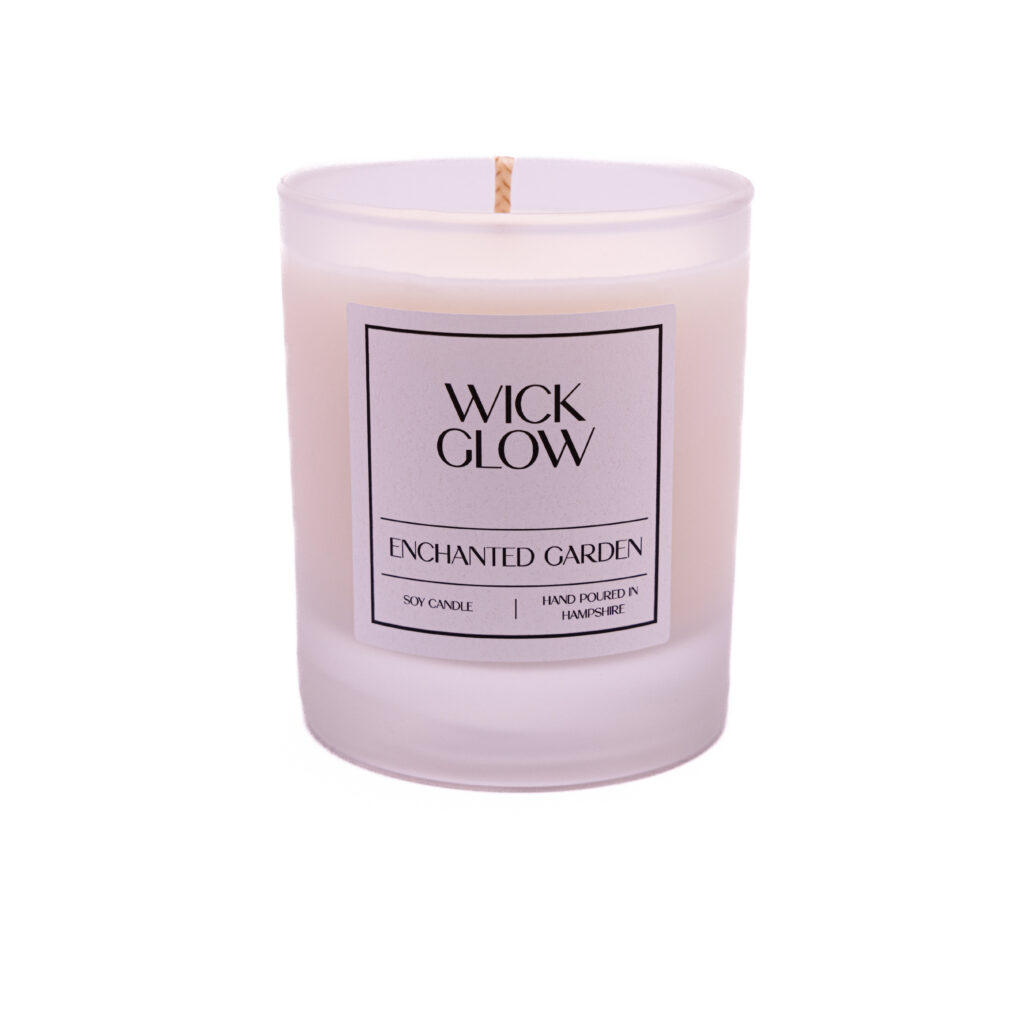
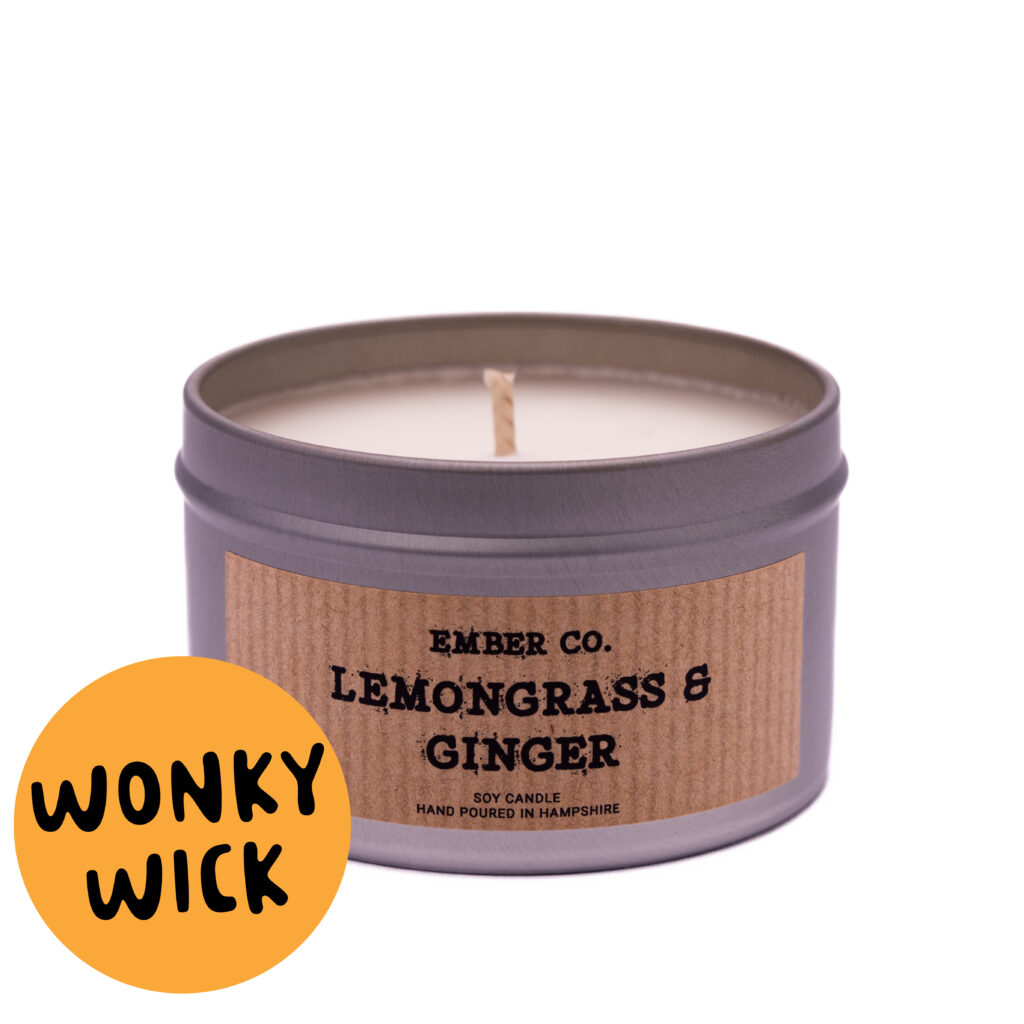
4) Candle Containers: Choosing the correct candle container is aesthetically and functionally essential. From classic glass jars to rustic tins or ceramic vessels, the container holds the wax and contributes to the candle’s ambience.
5) Double Boiler or Melting Pot: This tool is essential for safely melting soy wax. A double boiler helps regulate temperature and prevents direct heat exposure, reducing the risk of overheating and ensuring a smooth melting process.
6) Thermometer: Monitoring the wax temperature is crucial for successful candle making. A thermometer lets you maintain the ideal temperature range for adding fragrance oils and pouring the wax into containers, ensuring optimal candle quality.
7) Stirring Utensil: A stirring rod or spoon is necessary for blending fragrance oils into the melted wax. Choose a utensil that’s heat-resistant and non-reactive with the wax.
Optional:
Dyes or Colorants: While optional, dyes or colourants allow for customization by adding visual appeal to your candles. These can be used sparingly to achieve desired hues, enhancing the aesthetic appeal of your final product.
These materials and tools ensure a smooth and enjoyable candle-making experience, allowing you to craft beautiful, fragrant soy wax candles tailored to your preferences.
Preparation
Before diving into the candle-making process, it’s crucial to set the stage by preparing your workspace meticulously. This preparation ensures a seamless and enjoyable candle-making experience while maintaining quality and safety standards.
Cleaning Containers: Start by thoroughly cleaning the candle containers you plan to use. Remove any dust, debris, or residues that might affect the appearance or quality of your candles. Clean, dry containers provide an optimal canvas for pouring your melted wax and help maintain the overall hygiene of the finished product.
Setting up the Double Boiler:
- Establish a safe and efficient setup for melting your soy wax.
- If using a double boiler, assemble it correctly.
- Ensure the inner pot or bowl is heat-resistant and appropriately sized to hold the wax needed for your candles.
By setting up the double boiler in advance, you can begin melting the wax without delay, streamlining the candle-making process.
Prepping the Wicks and Containers:
- Take time to prepare the candle wicks and containers before pouring the wax.
- Cut the wicks to the appropriate length for your containers, considering the depth and width of each vessel.
- If using adhesive wicks, affix them securely to the bottom centre of each container.
Properly positioned wicks guarantee even burning and prevent potential mishaps during pouring.
By meticulously cleaning your containers, setting up the melting apparatus, and preparing the wicks and containers beforehand, you lay a solid foundation for a successful candle-making session. This preparatory phase ensures a clean and organized workspace. It contributes to the overall quality and aesthetics of your handcrafted soy wax candles.
Step-by-Step Instructions
Crafting soy wax candles at home involves a series of carefully executed steps to ensure the creation of beautiful, fragrant candles. Follow these detailed instructions for a successful candle-making experience:
Step 1: Melting the Wax
Begin by setting up your double boiler or melting pot. Place the desired soy wax flakes into the melting container and set it over medium heat. Slowly melt the wax, stirring occasionally with a heat-resistant utensil to aid the process.
Monitoring the wax temperature is critical to prevent overheating. Use a thermometer to gauge the wax temperature, ensuring it stays within the recommended range (typically around 160°F to 180°F for soy wax). Overheating can affect the quality of your candles, causing discolouration or adversely impacting the fragrance throw.
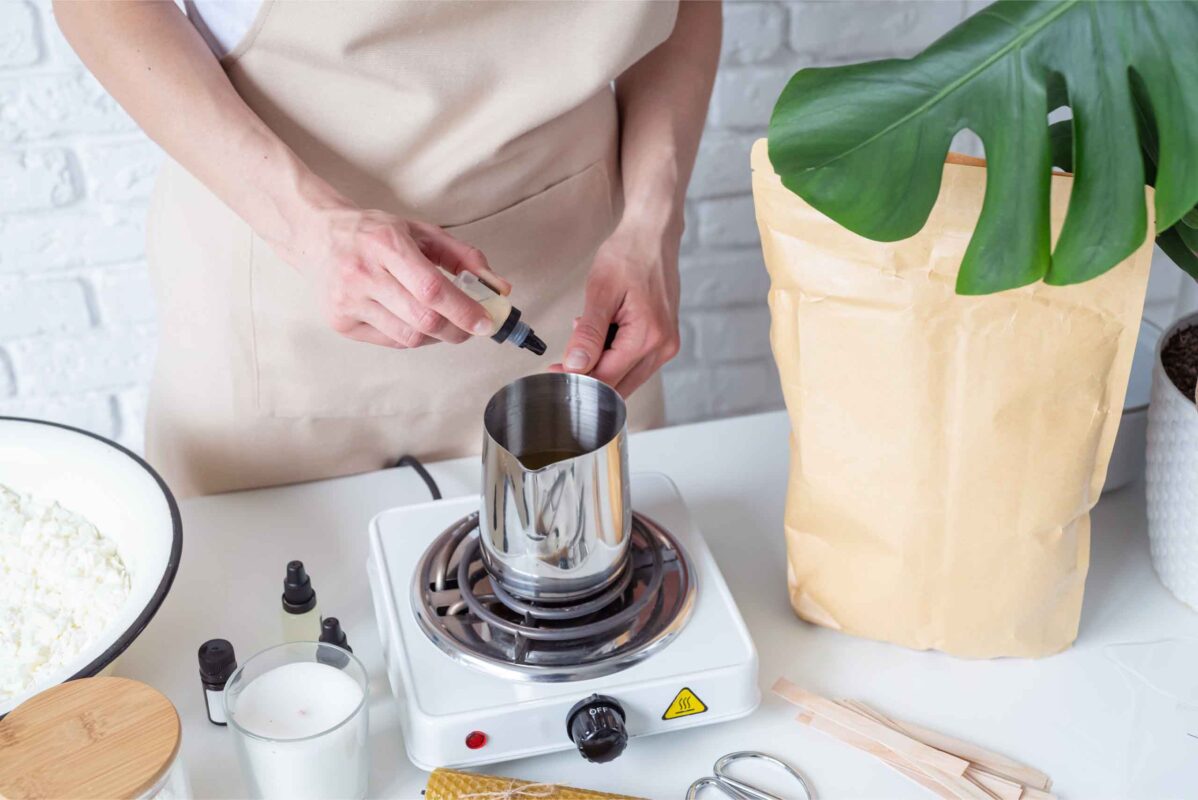
Step 2: Adding Fragrance and Colour
Once the soy wax has melted to the desired consistency, it’s time to infuse it with fragrance. Carefully add your preferred fragrance or essential oils to the melted wax, following the recommended guidelines for the quantity based on the volume of wax used. Stir the mixture gently and thoroughly to ensure an even fragrance distribution.
If you opt to add colour to your candles, this is the stage to include dyes or colourants. Add these sparingly, controlling the hue to achieve the desired colour. Remember, a little goes a long way when adding colourants to the wax.
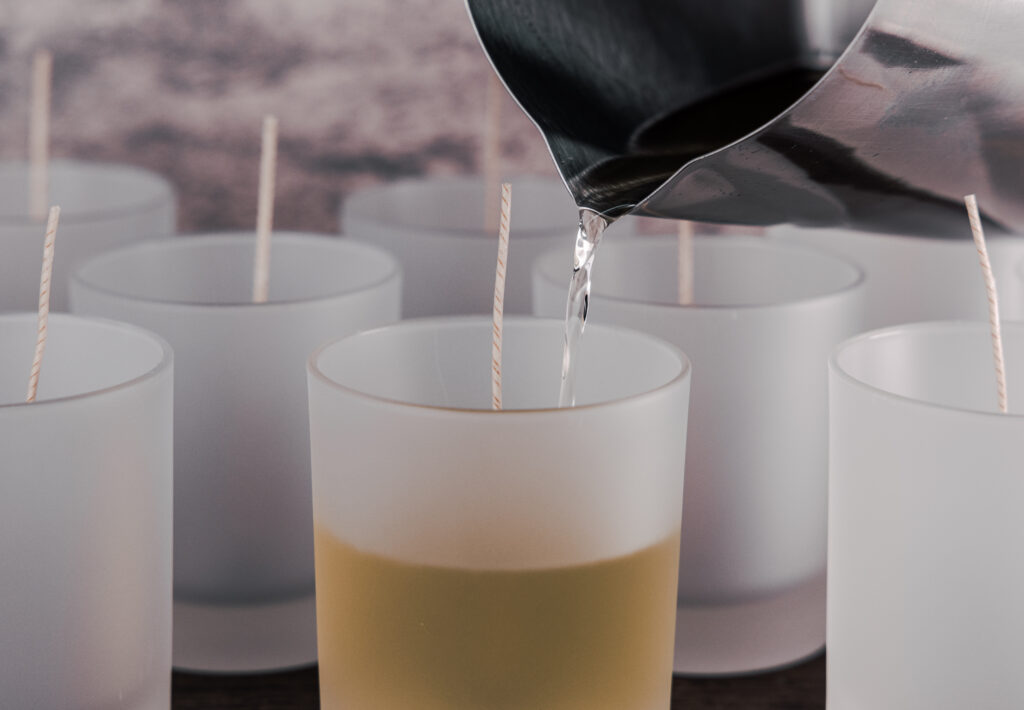
Step 3: Preparing the Containers and Wicks
Prepare your candle containers by ensuring they are clean and dry. Secure the wicks in the centre of each container using adhesive or other preferred methods. Ensure the wicks are straight and correctly positioned to facilitate an even burn.
Take extra care to ensure the wicks remain centred while pouring the wax, as this ensures optimal burning and prevents potential issues during the candle-making process.
Step 4: Pouring the Wax
With the melted wax now infused with fragrance and possibly colour, carefully pour it into the prepared containers. Pour slowly and steadily to prevent air bubbles and distribute even wax. Leave some space (usually around half an inch) at the top of the container to allow for expansion and an aesthetically pleasing finish.
Step 5: Cooling and Finishing
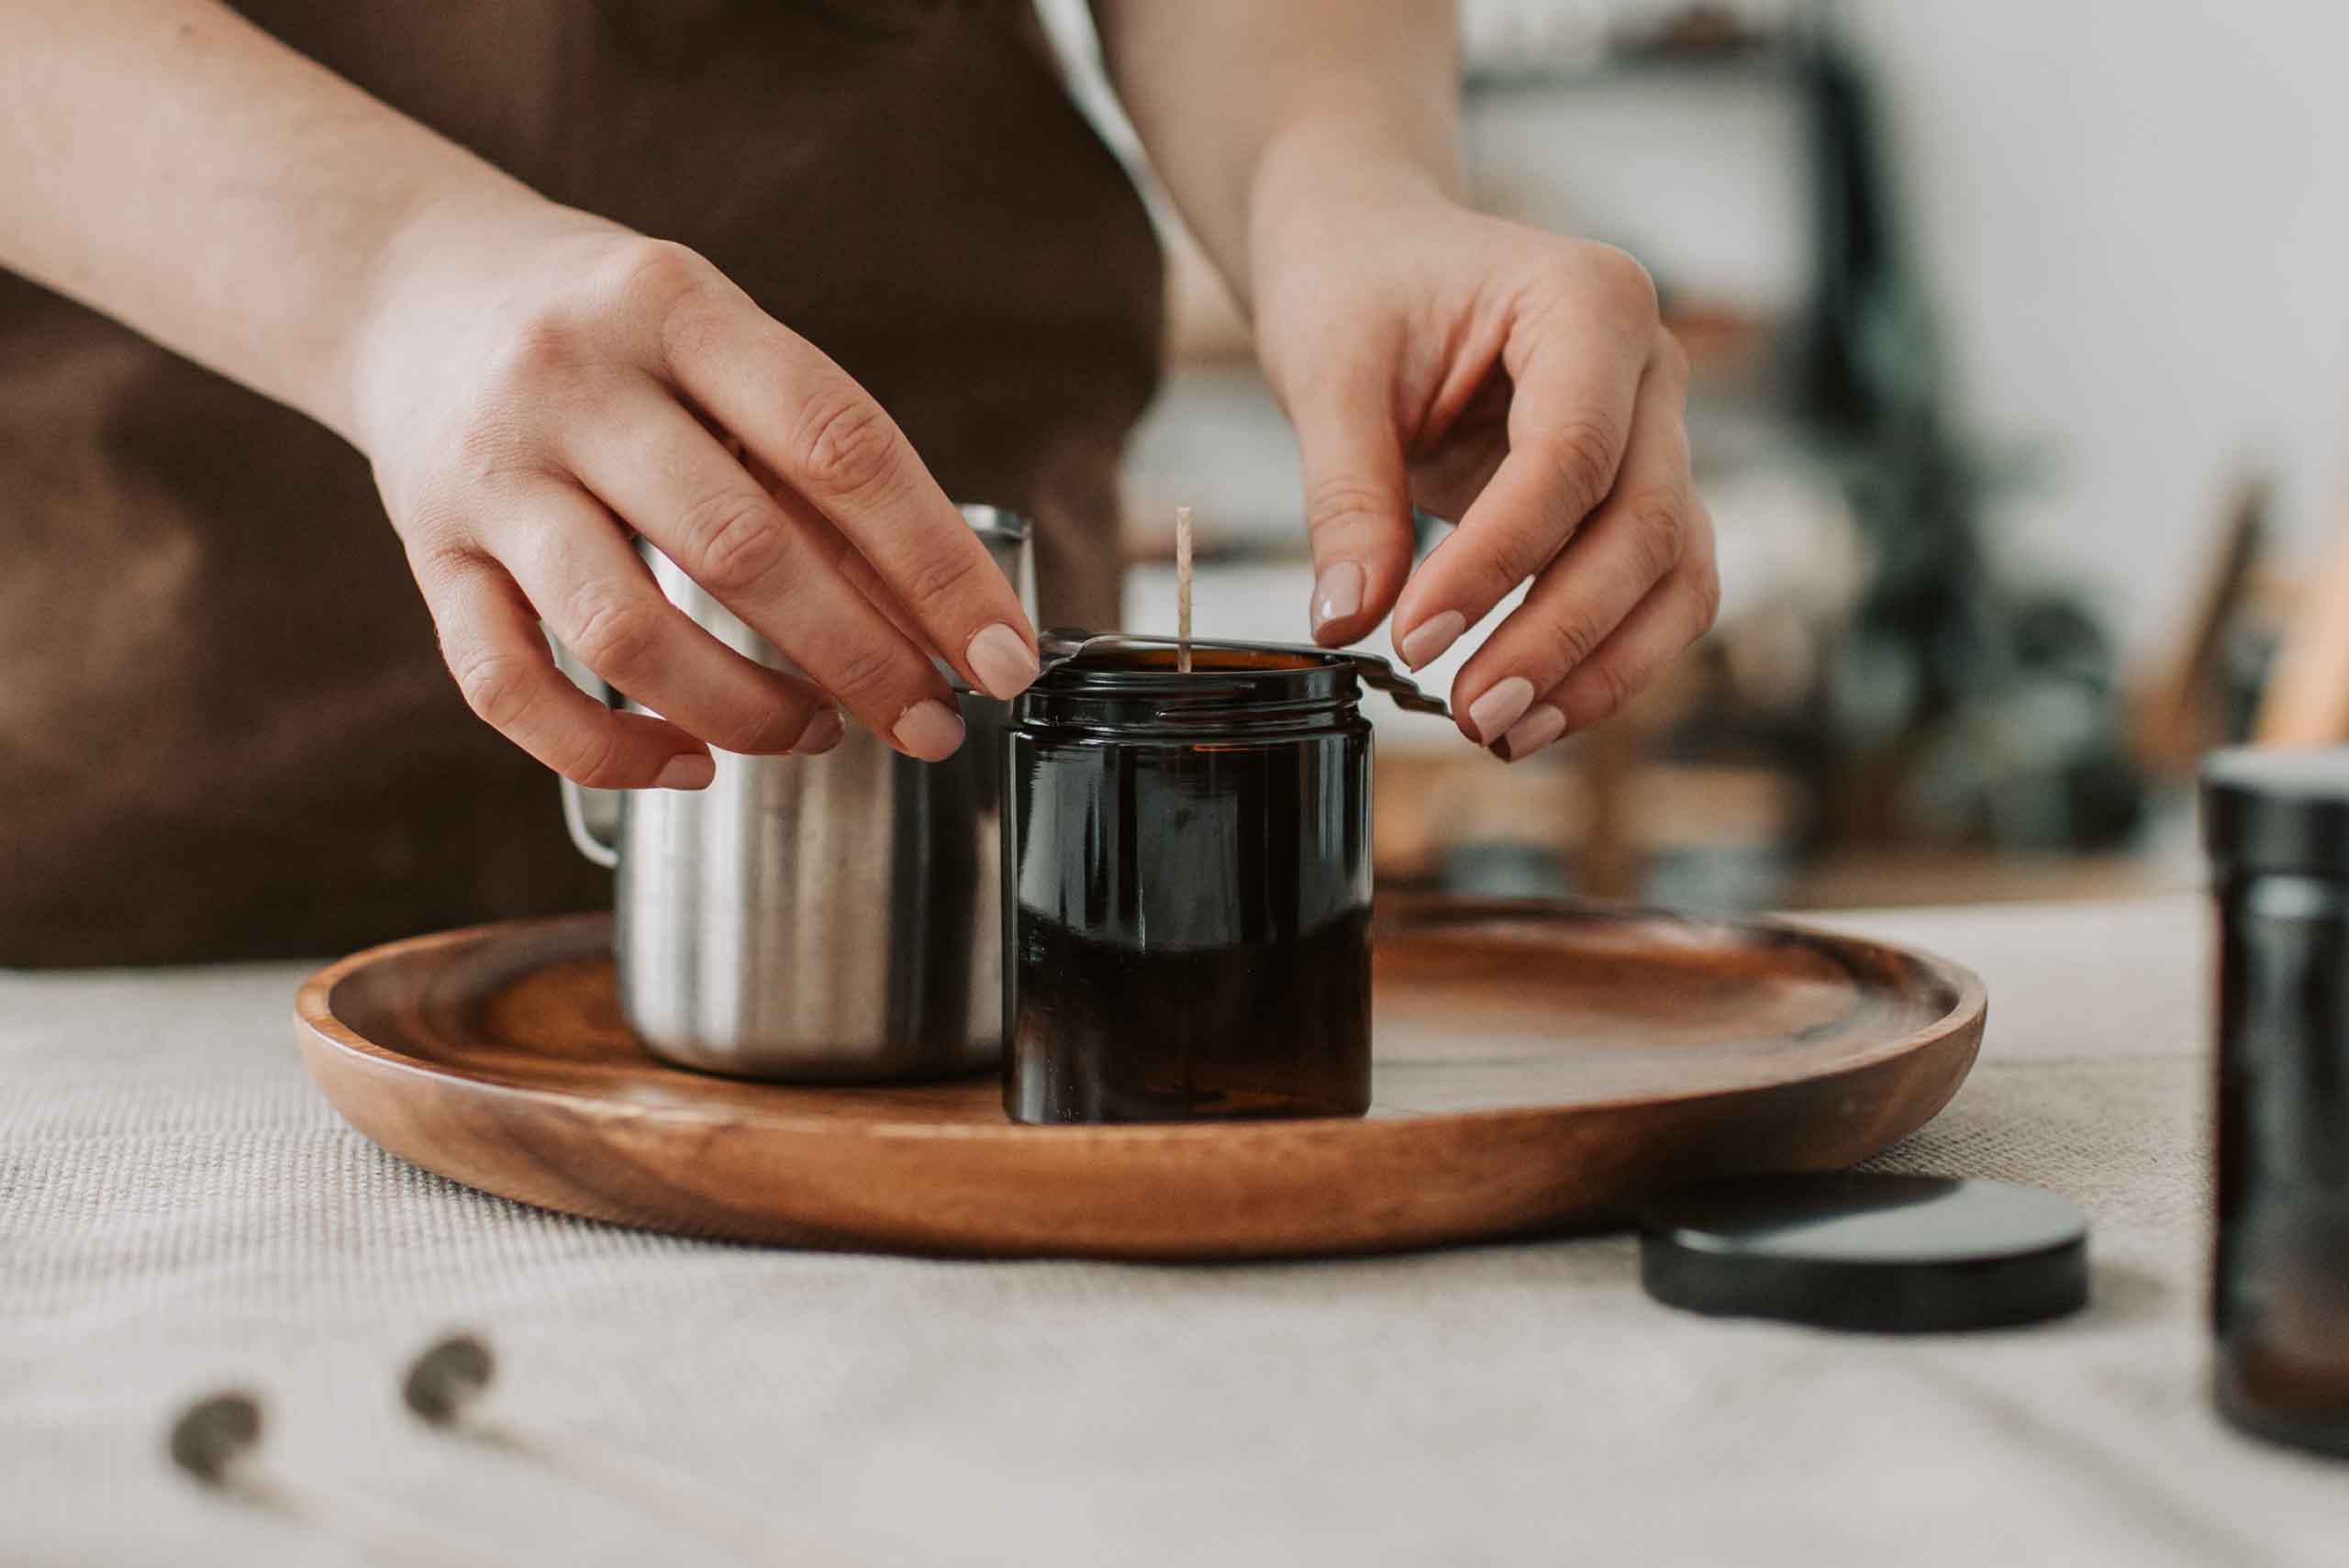
Allow the candles to cool and solidify entirely at room temperature. This process may take several hours. Once solidified, trim the wicks to approximately a quarter-inch length for optimal burning.
Add decorative elements, such as ribbons, labels, or personalised tags, to your candles for an extra personal touch. These finishing touches enhance the visual appeal and offer a unique touch to your handcrafted soy wax candles.
Conclusion
In crafting your soy wax candles, you’ve embarked on a journey merging creativity and mindfulness while indulging in the delightful art of candle making. Let’s recap the key steps that culminate in creating captivating soy wax candles:
Summarising the Key Steps: Beginning with melting the wax and infusing it with fragrance and optional colour, meticulously preparing containers and wicks, pouring the wax into containers, and finally allowing the candles to cool and solidify. Each step contributes to creating unique, beautifully scented candles that bring warmth and ambience to any space.
Encouraging Creativity:
- As you delve into the world of candle making, embrace the opportunity to experiment with various scents, colours, and containers.
- Mix different fragrances to create custom blends or explore diverse container styles and sizes.
- Unleash your creativity to fashion candles illuminating and reflecting your style and preferences.
Exploration in Our Store: For those eager to embark on their candle-making journey or seeking high-quality supplies, we invite you to explore our store. We offer premium soy wax, diverse fragrances and essential oils, candle containers, wicks, and other essential candle-making supplies. Our commitment to providing top-notch materials supports your creative endeavours and ensures an enjoyable candle-making experience.
Embarking on the adventure of making soy wax candles empowers you to infuse your living spaces with scents that evoke emotions and memories while contributing to a sustainable and mindful lifestyle. We hope this comprehensive guide catalyzes your candle-making endeavours, igniting your passion for this fulfilling craft.